Part 3: Run the Node in the Background as a tmux Session
I eventually encountered the problem everytime my computer went to sleep, say on the macbook laptop, the terminal ssh session would break and the node would not run and sync in the background.
I was given advice that an easy fix was to "tmux it" for running in the background by @Wael of PIADA Stake Pool founder of Armada Alliance.
This was brand new to me and required a bit of an overwhelming learning curve that now seems simple and really is great to know.
In reality, you only need to know about 5 things.
So what is Tmux?
Tmux on Github describes their projects as:
tmux is a terminal multiplexer: it enables a number of terminals to be created, accessed, and controlled from a single screen. tmux may be detached from a screen and continue running in the background, then later reattached.
Here's a video my super hacker brother shared with me:
In reality, you only need to know the basics, about 5 things, and level up from there.
Installation
From your local machine, that is, not the rpi, install tmux.
For rpi linux, we can download tmux using pacman that package manager
Note, we'll need to download dependancies
sudo pacman -S tmux
Or find your package manager for your OS here:
https://github.com/tmux/tmux/wiki/Installing
E.g. for macOS brew install tmux
Else: you'll need to download dependancies from the tmux manually from the readme:
- libevent
- ncurses
Test:
git clone https://github.com/tmux/tmux.git
cd tmux
sh autogen.sh
./configure && make
WARNING: If you run the above and the last line has
configure: error: "libevent not found"
You need to download the dependencies.
From here, we'll need some pluggins to make it run smooth and nicely:
Basically, follow the steps from Github tmux-plugins
git clone https://github.com/tmux-plugins/tpm ~/.tmux/plugins/tpm
Next, create the configuration file
cd
touch .tmux.conf
nano .tmux.conf
Note: this is tricky. Some versions have making this file in .config/tmux/tmux.conf
copy the following into .tmux.conf per the tpm instructions
# List of plugins
set -g @plugin 'tmux-plugins/tpm'
set -g @plugin 'tmux-plugins/tmux-sensible'

# Other examples:
# set -g @plugin 'github_username/plugin_name'
# set -g @plugin 'github_username/plugin_name#branch'
# set -g @plugin 'git@github.com:user/plugin'
# set -g @plugin 'git@bitbucket.com:user/plugin'

# Initialize TMUX plugin manager (keep this line at the very bottom of tmux.conf)
run '~/.tmux/plugins/tpm/tpm'
Ctrl+X to exit and yes to overwrite and save.
Next, resource the config file so it is recognized.
tmux source ~/.tmux.conf
Finally, run tmux
tmux
Get into the rpi with tmux session
Now let's get into the rpi thru tmux and do some practice work.
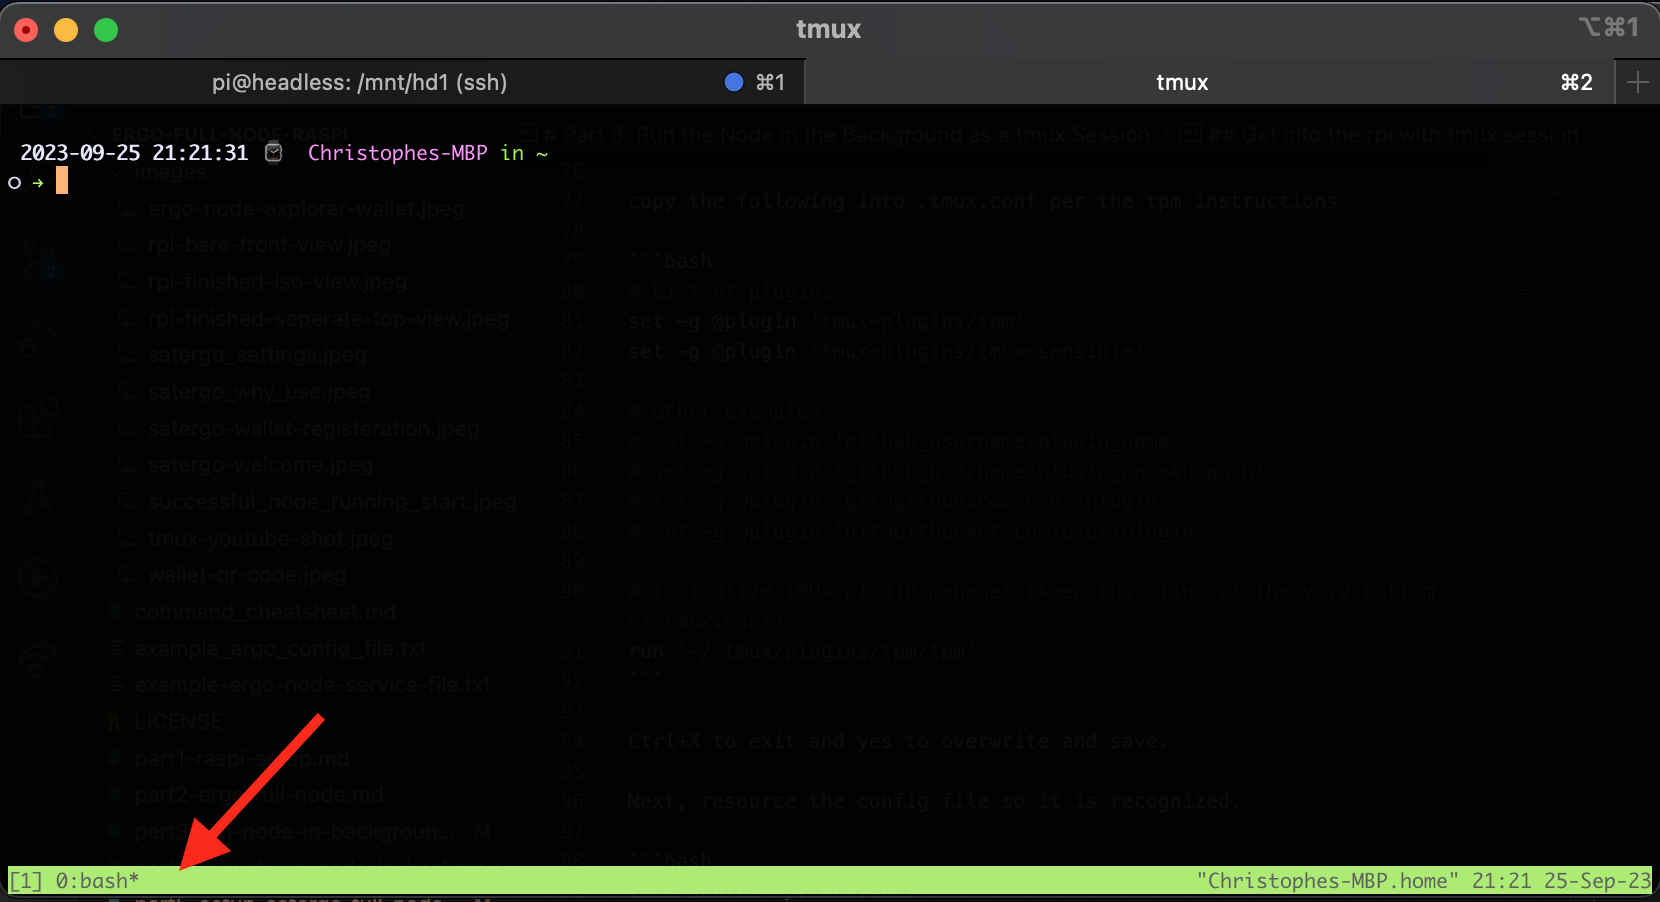
From a tmux session that we started above, it should have a solid green bar at the bottom.
Let's get into the rpi
ssh pi@headless.local
Type in the password
To where we are storing the node mounted on the external SSD drive.
Now, here's a handy cheatsheet for working with tmux. Open it up.
Let's rename this session. You'll have to input this manaully in the keyboard.
ctrl+b then $ (that's right, ctrl+b, then separately, shift+4)
Type in ergo-node and hit enter. The bottom green bar should be updated with the name.
To list the sessions:
ctrl+b then s. Hit q to quit and exit.
If your node is already sync'ing, but you don't see it here, break it.
ctrl+c or ctrl+.
Now, in the terminal window, open a new tab.
ctrl+t
You may have to ssh back in and get back to /mnt/hd1 directory.
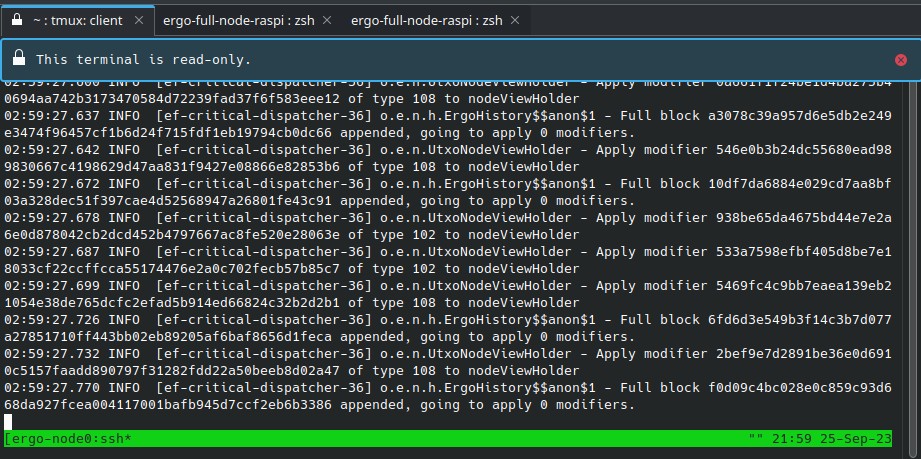
Attach to the tmux ergo-node session. This will be a read-only live view tab.
tmux a -t ergo-node
Make sure both tabs are in the /mnt/hd1 directory.
Let's restart the node sync'ing in this tmux ergo-node session to see it live.
java -jar -Xmx2g ergo-5.0.14.jar --mainnet -c ergo.conf
You should see the node sync'ing in each terminal tab.
Now from one of the terminal tabs, detach.
ctrl+b then d to detach.
It should reflect your local terminal tab now (exited out).
In the other tab, you should see a live read-only view of the node syncing.
Congrats, you are now running the ergo-node sync as a tmux session in the background!